Brambl advanced
This guide assumes you are familiar with editing content on Brambl websites. If you would like more information on basic Brambl editing, check out our guide on basic Brambl editing (use password “opensesame”) .
WordPress will likely be used if your website requires ongoing content, but Brambl can also be used to create and manage several pages. If you will be adding pages regularly to Brambl, you will need to ask your local Nettl studio to upgrade your access level to allow advanced Brambl editing priviledges.
When you have advanced editing priviledges, your Brambl toolset will expand to allow you to:
- Create pages
- Duplicate pages
- Delete pages
- Edit menus
- Add & amend panels
- Add & amend block
![]()
Please beware: with advanced priviledges you can radically alter the design, styles and every aspect of how the site looks. Contact your local studio if you make a mistake and we can revert the website to a previous time when it was last working as intended.
Creating, duplicating and deleting pages
Press the page icon at the top of your brambl editor and enter your new page name to create a new page.
![]()
This will create a new blank page for you to start from. You can also press the duplicate icon to copy an existing page and use that as a starting point.
If you created a page you no longer want to use, select the page in your page dropdown then press the trash can icon to delete the page. This will delete whatever page is currently active in your Brambl editor. You can use the undo icon to revert this if you accidently delete the wrong page.
Editing menus
To edit your menus, go to Settings > Menus.
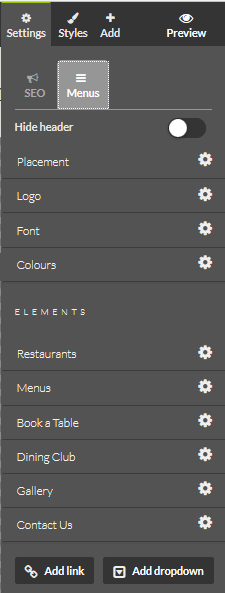
In the “Elements” section you will see the menus your website uses.
Press Add link to add a new menu item, or Add dropdown to add a new dropdown menu.
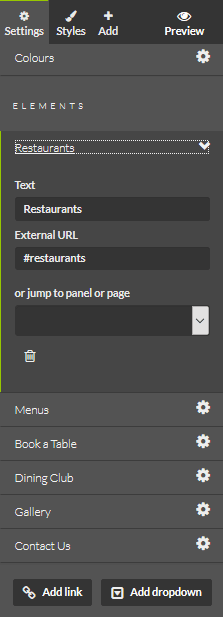
Click on each item to expand them, allowing you to change the text displayed in the menu, the url it goes to, or use the trash can to delete the item.
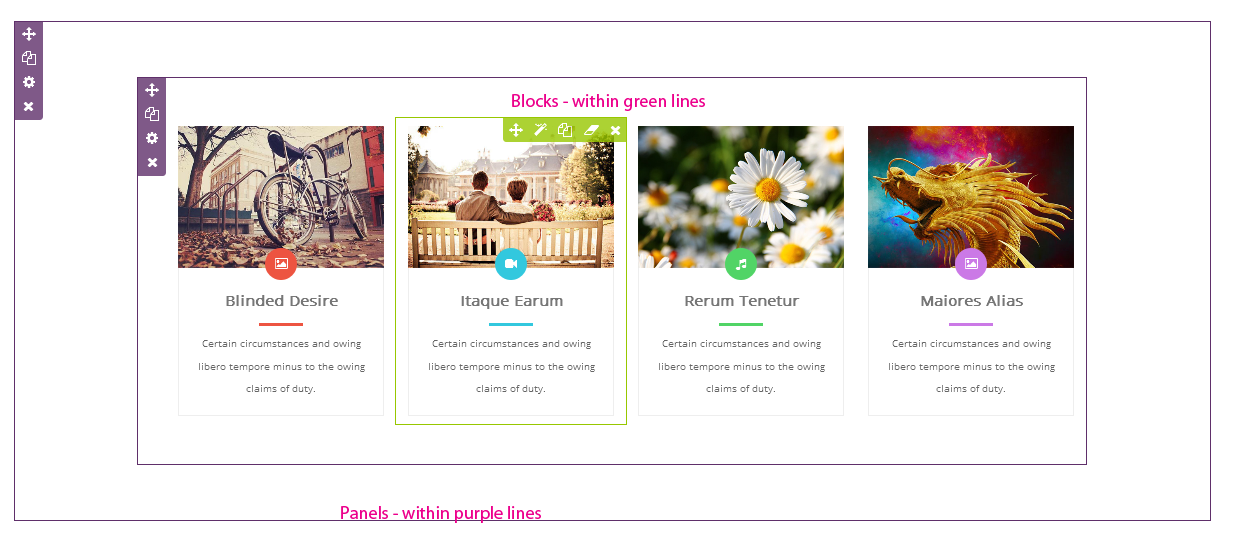
Adding panels & blocks
A panel is a full-width bar within which blocks are placed. Blocks are then filled with pre-designed website content that can be changed to be relevant to your client.
In the Brambl editor, panels are controlled and defined within purple lines while blocks are within green lines.
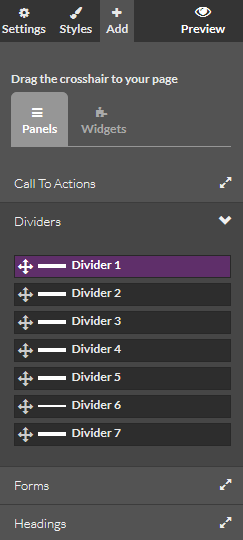
Adding Panels
To add a panel in Brambl, head to .
Select your preferred panel and drag it onto the page.
Customising panels
Panel options
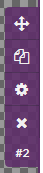
When you hover over a panel, you’ll see options to customise it.
The first crosshair icon lets you move the position of the panel on your page. Hold it and drag your panel up or down the page.
The second copy icon lets you duplicate the panel. It will copy all the blocks and all the content, letting you customise again from a better starting place.
The third cog icon lets you configure the panel, more on this later.
The fourth x panel option deletes the panel, along with all the blocks and content it contains.
The #2 tells you what order the panel is. This order can be used as an anchor point in the text editor and menus.
Panel configuration options
Press the panel cog icon and a right sidebar will appear specifically for this panel.
Background
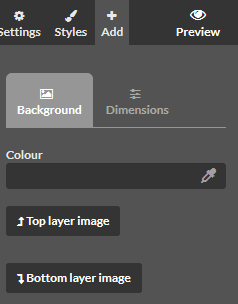
You can change the background colour, and even add a transparency. You can also add a background image. The top layer image scrolls with the page while the bottom layer image is static.
Dimension
Use dimensions to define your panel’s max height and amount of padding.
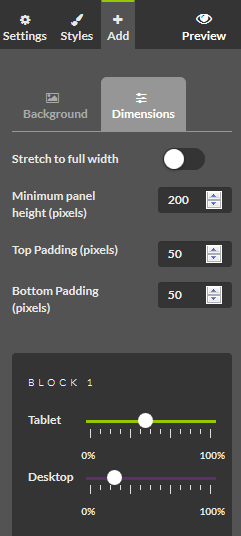
You can also set the block widths of each block on both the tablet or desktop. By changing the sliders you can choose how much of the device width each block should take up.
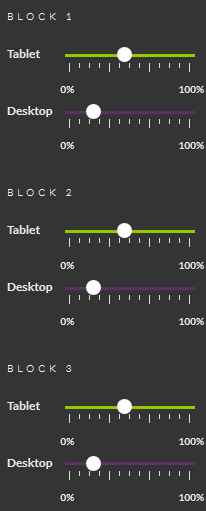
In the above example the 4 blocks within the panel will show in 4 columns for desktop, and in 2 rows of 2 columns for tablet.
Customising Blocks

There are also block specific options when you hover over them.
The first crosshairs icon lets you drag & drop your block within the panel, and even onto another panel.
The second magic wand icon lets you add custom animations, more on this later.
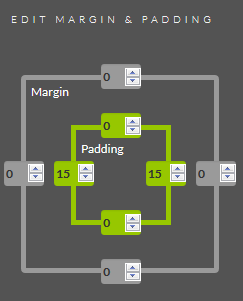
The third cog icon lets you adjust the padding or margin of your block to give it more or less whitespace.
You can also add a background colour or upload a background image
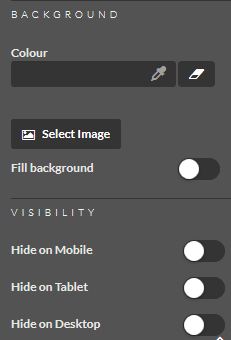
And you can choose to hide some blocks from desktops, mobiles or tablets to create content specific to the device of your users.
The fourth copy icon lets you duplicate all the block content and creates a new copy next to your original.
The fifth rubber icon strips out the block content, but leaves a blank space in case you want a gap between two of your Blocks.
The sixth x icon deletes your block and all the content inside it.